Posts

Microbit step counter
Image
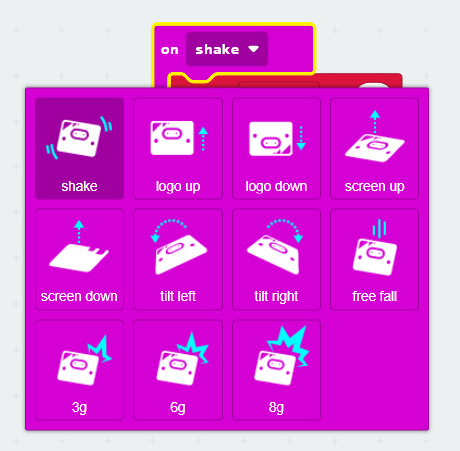
In this blog post I made a step counter. I am planning to use this for a coding challenge in the place where I live. The purpose is to help people track how much moderate activity they do The solution uses a Micro:bit which is the same microcontroller for kids that I have used in other projects. This project uses the accelerometer to count your foot steps. The accelerometer is a type of sensor that detects movement. These are the movements you can detect with the accelerometer. My project uses "on shake" This is the code. I made a variable called "steps" that keeps track of how many steps have been detected. It gets increased by 2 every time it gets shaken because we have two legs. If button A is pressed it will set the "steps" to 0 and if you press button B it will show how many steps you have walked so far. In the following video you can how it works
Practicing times tables

Image
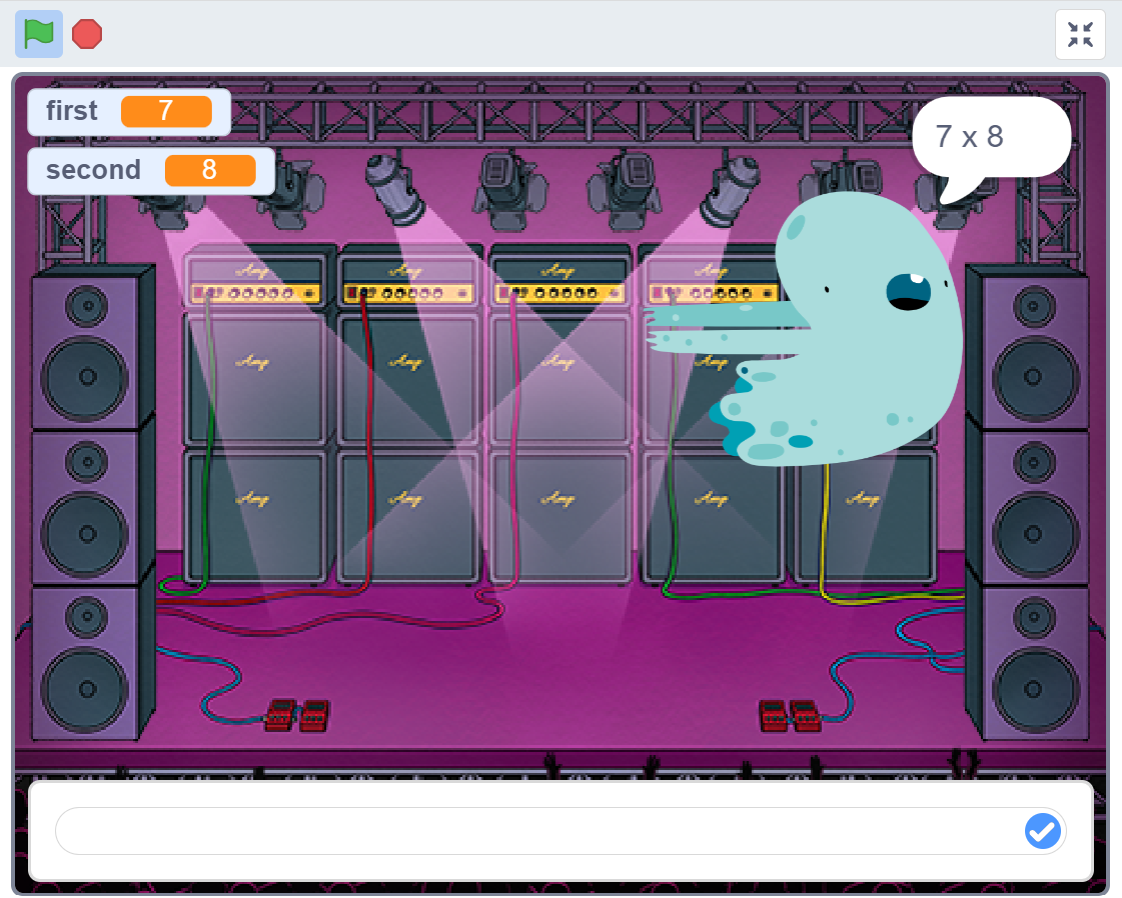
In this blogpost I will tell you about a program I made so that anyone can practice times tables for free. In order to learn the times tables you need someone to ask you random questions but if your parents/carers are busy, this program will never say "I am busy". When you click the green flag the ghost glides on to stage and will ask you 20 random questions. It will tell you if your answer is correct. If you get it wrong it tells you the right answer. However, it doesn't keep track of how many questions you get right or wrong so that you don't get upset. The important thing is to practice often and not to let your mistakes make you sad. By default it will ask you 20 questions from all times tables between 2 and 9. If you have an account in Scratch you can modify it to suit your needs. The important code is in these 3 lines For example, what if want to get 30 questions and only practice the 7 times tables? You can change the code like this. You can access the program ...

Scratch Game - Space Mission 1

Image
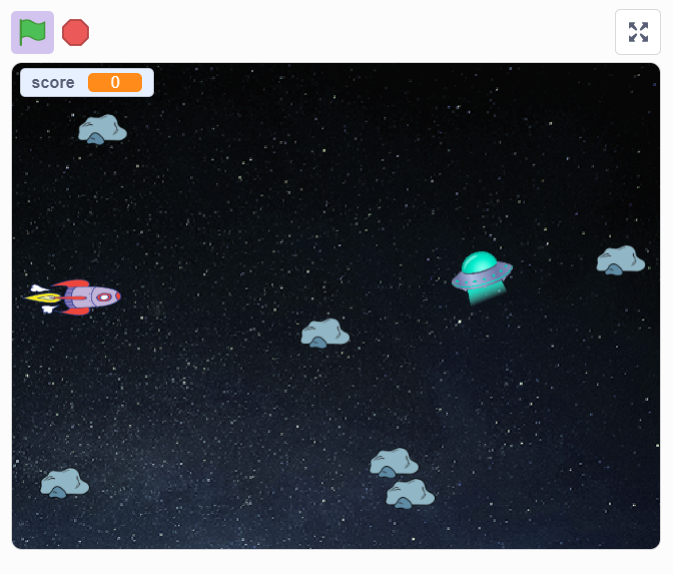
Today I am sharing a game I have made in Scratch. It is called "Space Mission 1". You have to shoot asteroids and flying saucers. Asteroids give you 1 point and saucers give you 6 points.  Use "q" and "a" to move the spacecraft. Shoot with the "left" arrow You can access the game here https://scratch.mit.edu/projects/623206612 Enjoy!

Designing a test tube stand

Image
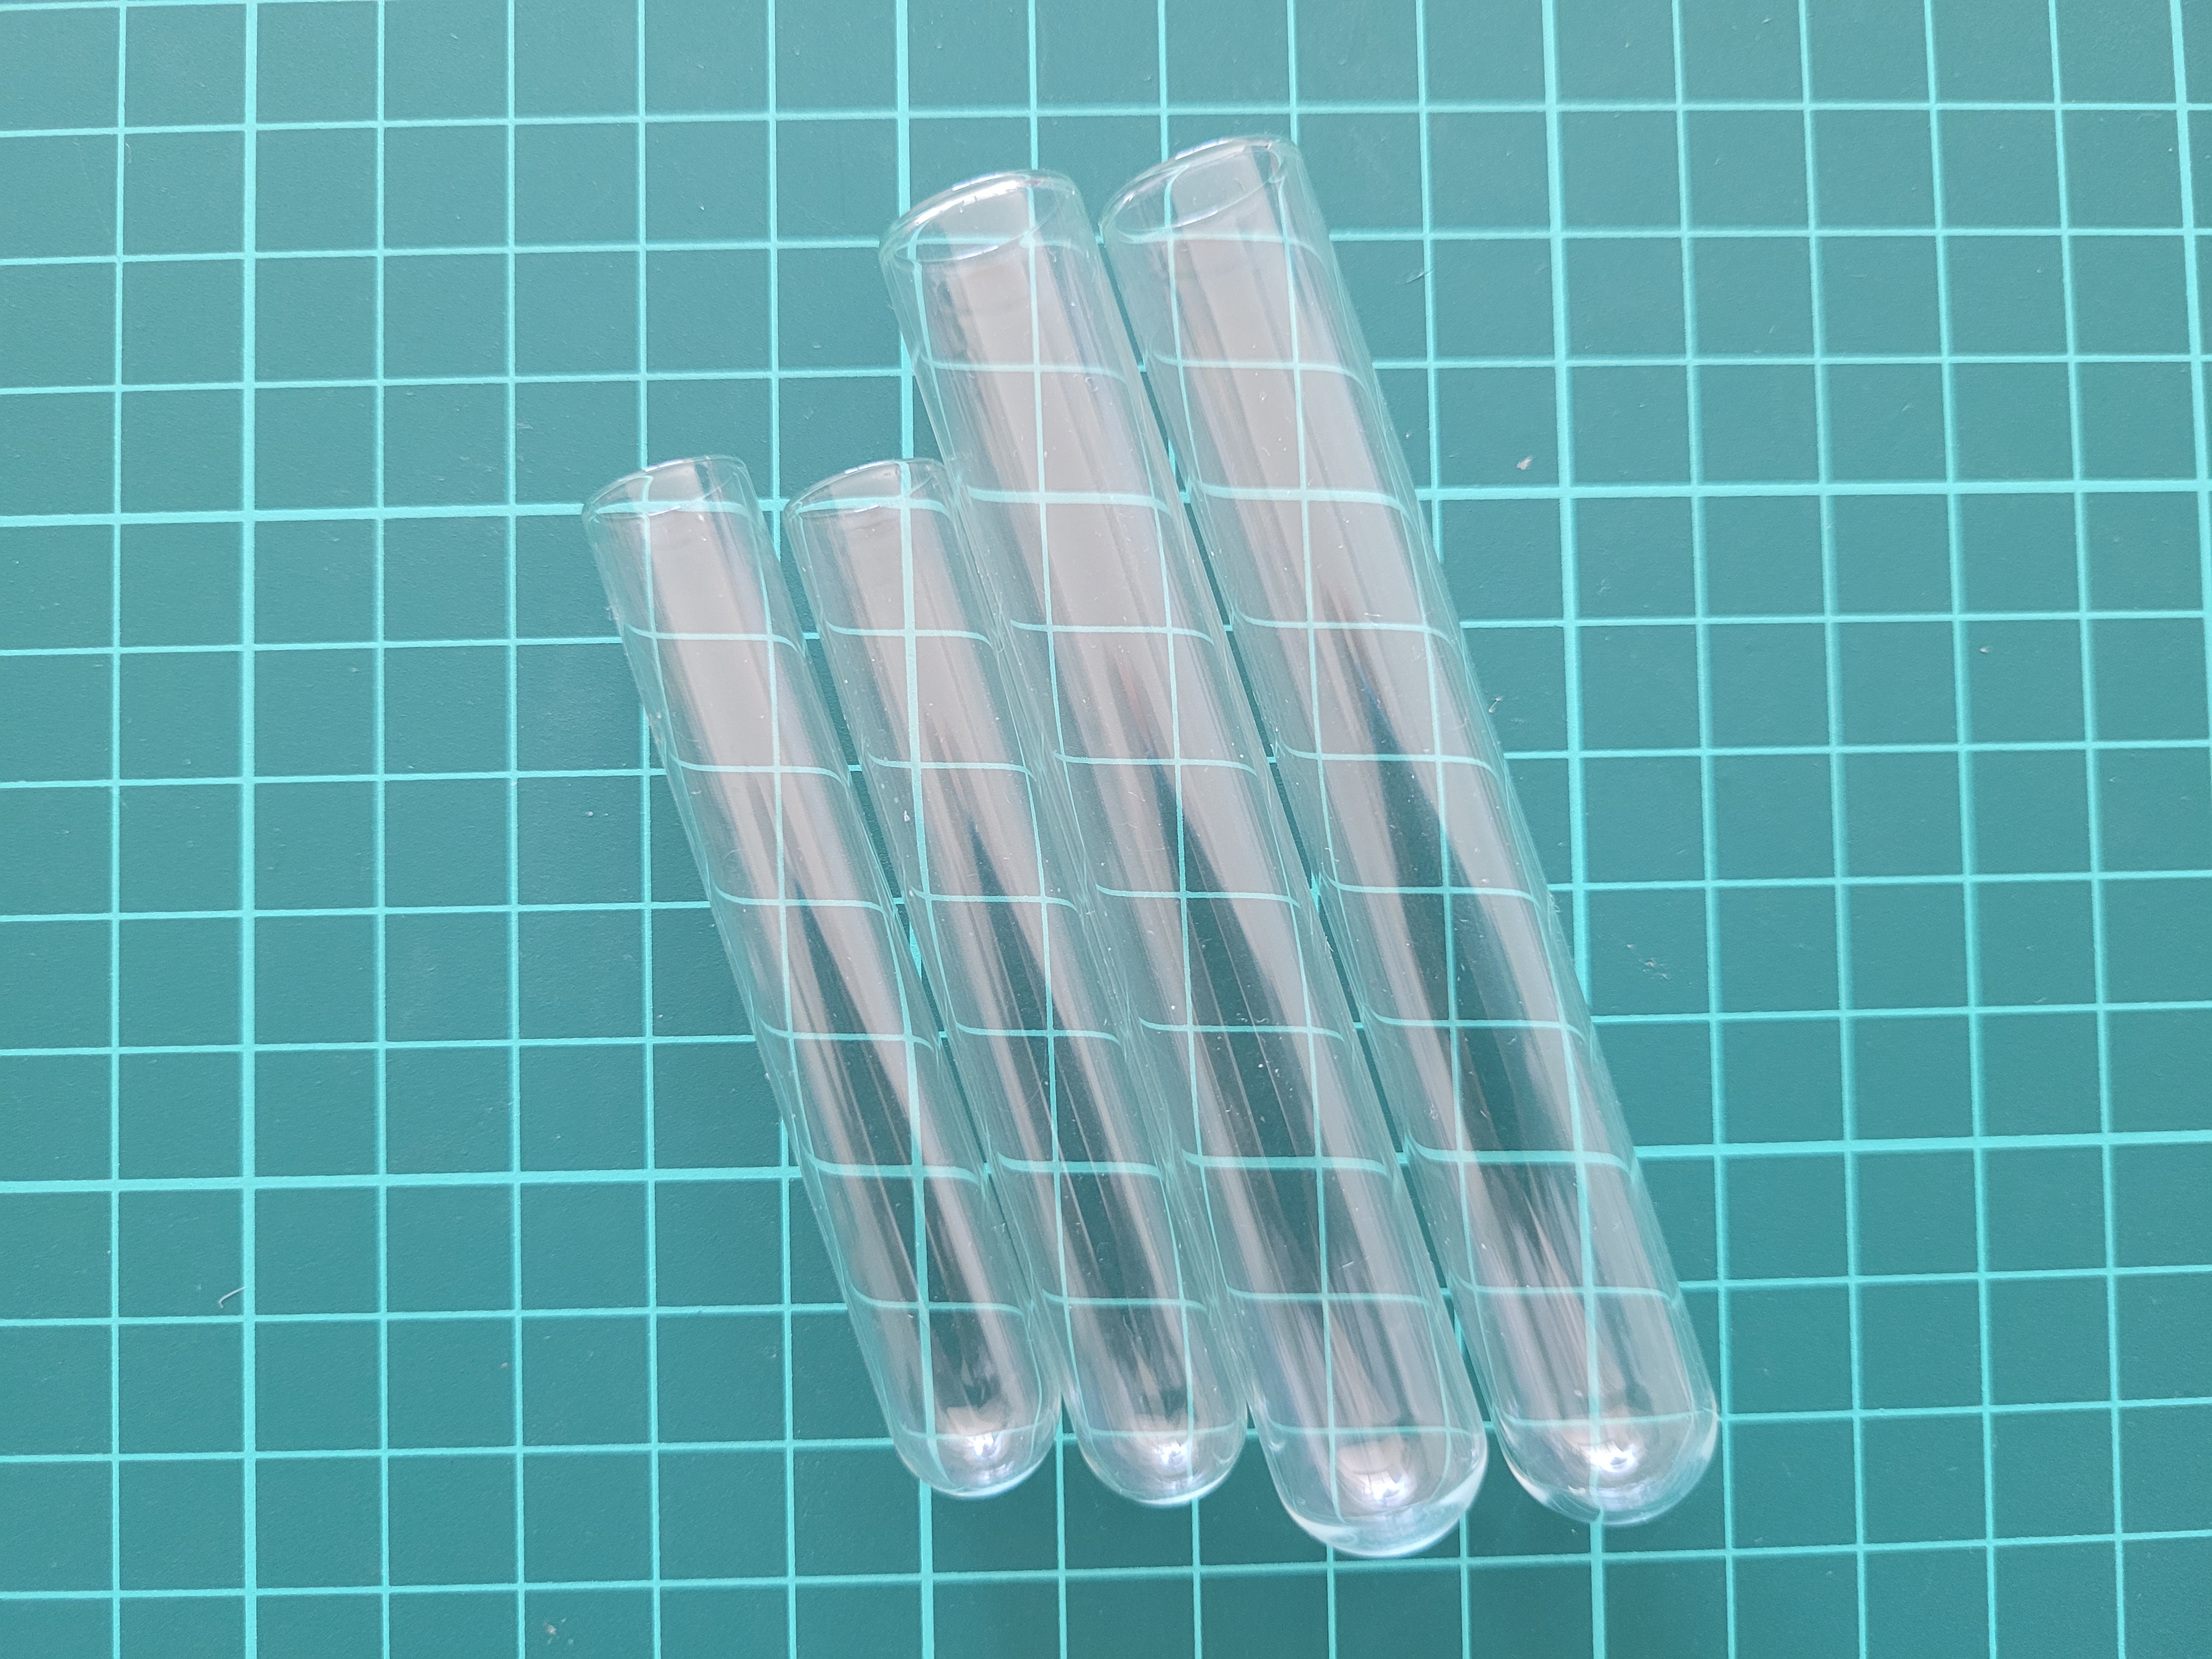
Recently we got some borosilicate test tubes for chemistry projects. The problem with test tubes is that they have a round bottom and they cannot stand up. Instead of buying a stand for the test tubes we decided to design one and to print it in the 3D printer which is more fun. As you can see in the photo we some big and some small test tubes. We decided to make all holes big enough for the big ones to fit inside. I used calipers to measure the diameter of the large tubes We designed it with a height that allows us to easily pick both types of tubes from the top easily We added some rings to the bottom platform so that the tube didn't slip or fall down Before printing the whole thing we printed a small prototype of the holes with 2 different sizes because 3D prints can shrink a little when they cool down. This allowed us to discover that the size of the hole we had chosen wasn't big enough once it printed. So we could change the design before printing the full stand. For design...

Tombstone - Micro:bit robot

Image
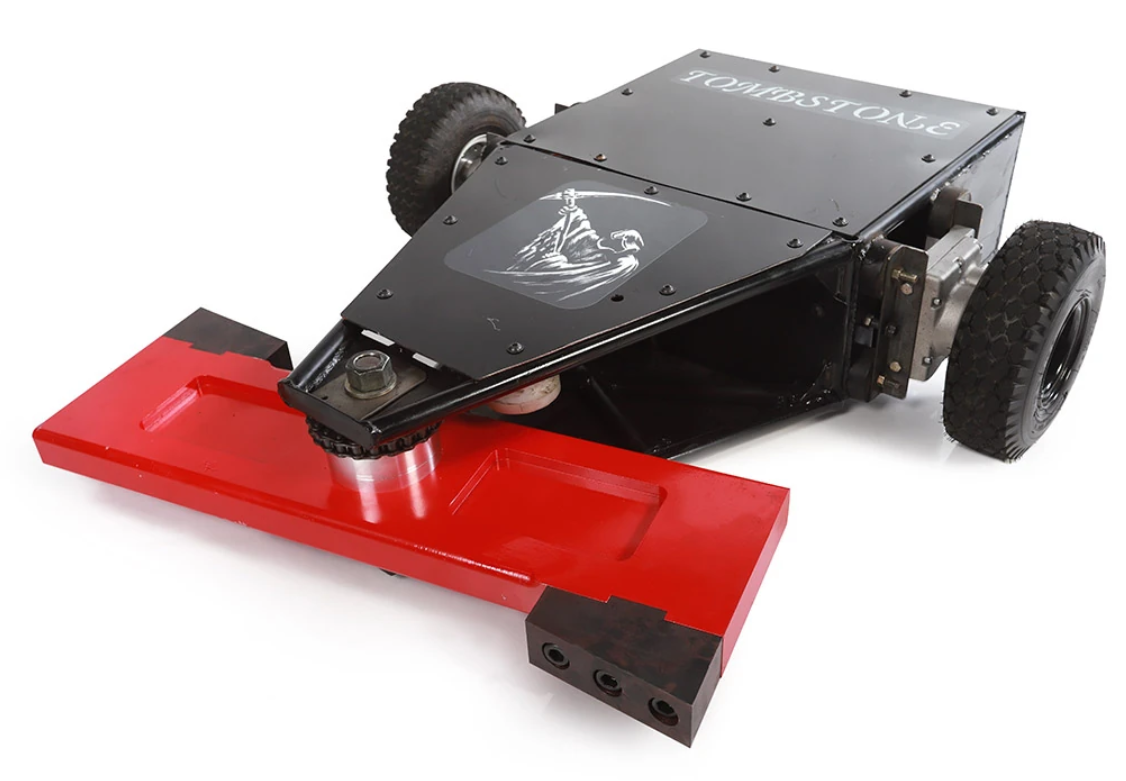
The inspiration for this project was a TV series called Battlebots. We saw 2 seasons on Netflix. It was about robots battling each other in an arena. My favorite robot was called Tombstone. This is the robot we built. It uses some Micro:bit components, some motors and Lego Technic pieces.  It is powered with a USB power bank. The chassis is made out of cardboard and the components are attached with zip ties and blue tag This project requires motors to move the robot and to move the blade at the front. As you can see in the photo we are using 1 Lego motor to move the Lego Technic that controls the blade and 2 non-Lego motors that move the robot. We also added a swivel castor wheel for support Making the robot we discovered that can't connect the motors directly to the pins on the Micro:bit because you can fry the Micro:bit. So you need to use a motor shield. There are many available but we are using this one from Dfrobot. It is called the Dfrobot Micro:bit expansion board. This one ...

Chromatography of leaves

Image
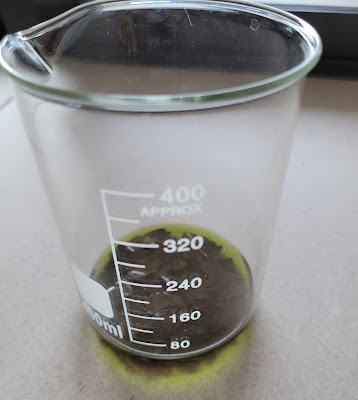
Today I will tell you about another experiment we have done with plants. This one is about seeing the types of coloured chemicals the plant uses to catch energy from the sun. The main one is called chlorophyll and is the one that makes plants look green. But you will see it is not the only one. Chromatography is a way of separating different coloured chemicals by getting them to climb a piece of paper. Different chemicals climb at different speeds and you are able to see the lines or shades they create. Scientists call these chemicals: pigments. In our experiments we are using rubbing alcohol. In Australia you can find the brand "Isocol" in all supermarkets. All you need to do is to cut and squeeze a few leaves into a jar, add enough alcohol to cover the pieces and let it rest for a few hours. After a while, the alcohol gets the colours out of the leaves. The final step is to put a paper strip hanging in the middle. Make sure it doesn't touch the walls of the jar. Here yo...

Plants with a microscope

Image
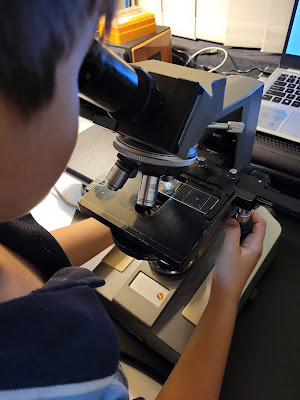
Last week I had the opportunity to use a real microscope. A friend of my Dad's has one and he showed it to us. One of the things we saw was the skeleton leaves that we talked about in the previous article. I think the photo was really cool This other photo is from the top side of a leave. You can see a white vein. You might be wondering what that little black line is? Yes, the one that looks like a closed eye. Well, that is a estoma. We saw in the previous article that estomas are used to breath in carbon dioxide and breath out oxygen. The majority of the estomas are on the bottom side of the leave. You can see them here more closely. These ones look like they are open.  Finally, we cut the stem of a leave hoping to see the xylem and the phloem. Our friend told us that the spiral you see in the photo is the Xylem. The plant uses the xylem to bring up water from the roots

Photosynthesis

Image
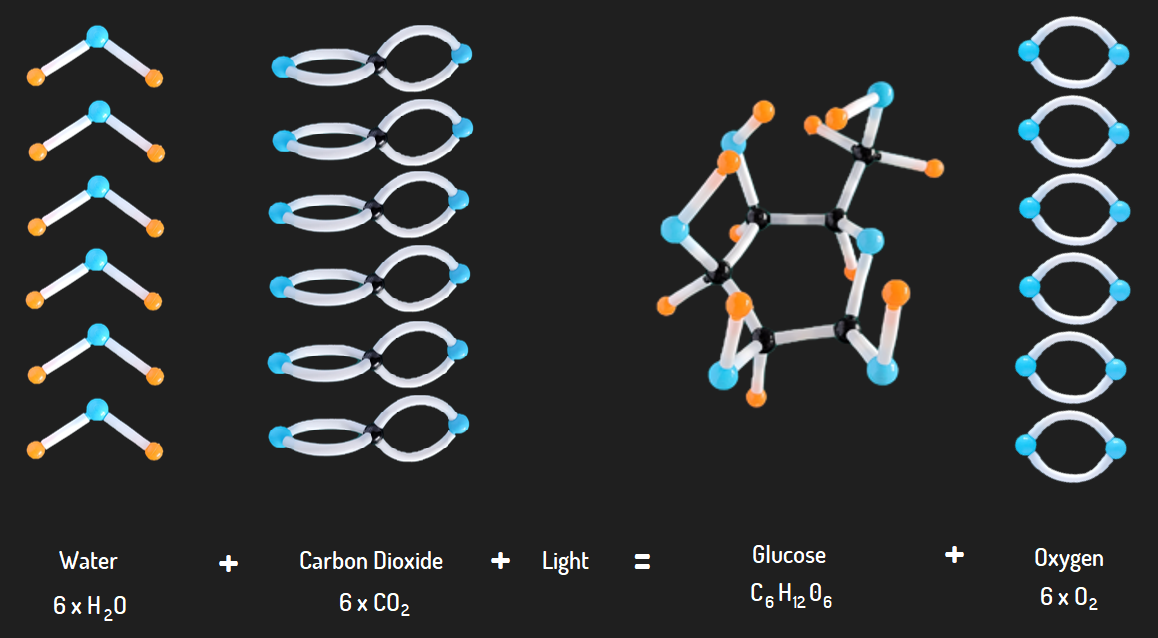
You might be wondering what photosynthesis is ? Well I'm glad you asked. Photosynthesis is a process the plants use to make their food.  They take in H2O which is water and carbon dioxide or CO2 sunlight and with that they reproduce glucose and oxygen. The water comes up from on the roots through a tube called xylem and carbon dioxide goes in through the estomas in the leaf. The glucose they produce goes down another tube called the phloem to other parts of the plant and chuck out the oxygen through the estomas. I built the molecules with my new chemistry model kit. You can see photos of the full chemicals reaction below. The simplest carbohydrate which is basically a sugar. This is the basic building block for the plants and it is used to make everything from leaves, fruit, pulp and bark. For example the plan change of as many as thousands of glucose is to build cellulose. The cellulose is used to build the pulp of the trunk which is what we used to make paper. The following is a ...

Skeleton Leaves

Image
In this blog post we will be showing you how to make your own skeleton leaves. Well you might be wondering what a skeleton leaf is. Well, it's basically the inside structure of the leaf that supports it and also includes tubes that transport nutrients. There are two types of tubes: the xylem and the phloem. The xylem brings water from the roots up the phloem brings glucose down. To make skeleton leaves  you need to gather some leaves from many different types of plants because you don't know which ones are going to work and which ones are not going to work.  For the next step put them in boiling water with baking soda for one hour. This makes the water alkaline and it helps destroy the soft parts of the leaf that we don't need. Then, put them in a little bit of water with a tablespoon of bleach for a few minutes. In our first attempt we put too much bleach for a few hours so some of them became white as you can see in the photo Then, you need to start brushing it. You wil...

Micro:bit watering system

Image
My class has been doing an experiment on plants where we had to water them at different times.  We have been watering our plants manually which means it is not very accurate. So I thought maybe we could make a machine to water them perfectly. Our solution is based on a microcontroller called the Micro:bit. We have a moisture sensor reading the amount of moisture in the plant and sending it to the Micro:bit through a cable. If the moisture is less than a certain level, which depends on the plant, it will send a message to switch on the pump. You may be wondering, what is the thing connected to the hose of the pump? Well, that is a shower cap that we designed and 3D printed to spread the water better. If you are interested on printing the shower cap (water spreader) you can download the files from Thingiverse here:  https://www.thingiverse.com/thing:6204986 This is the code for the Micro:bit The following video shows how the whole thing works

Fruit Ninja game in Scratch

Image
Today I am showing you a game we made about a ninja slicing fruits in Scratch. You can play the game in this link: https://scratch.mit.edu/projects/604420986 The goal of the game is to get as many points as possible before time runs out. Different fruits give you different points. The watermelons give you 1 point and the oranges give you 2 because they are smaller. The most valuable is the kiwi but it falls very fast You start with 60 seconds, time starts counting down but every time you get the clock you get 10 seconds extra You also have to avoid getting hit by the bomb, which as you can see is a really big one. If you do, the game ends with a big explosion Careful! the game can get a bit addictive. And by the way my record is 363 points. Let me know in the comments what your best score is. Enjoy!

Scratch - Pling Plong

Image
 I have built a game called "Pling Plong". It is based on the "Pong" game which was one of the first ever computer games. It is a bit like tennis but in my version the ball is a sprite in Scratch called "Gobo" and the rackets are buildings It is a two player game. One player takes the red racket and another the blue one. The red player uses "q" and "a" in the keyboard and the green player uses the "up" and "down" arrows. You can access the game here: https://scratch.mit.edu/projects/620944185 Enjoy!