Designing a test tube stand
Recently we got some borosilicate test tubes for chemistry projects. The problem with test tubes is that they have a round bottom and they cannot stand up. Instead of buying a stand for the test tubes we decided to design one and to print it in the 3D printer which is more fun.
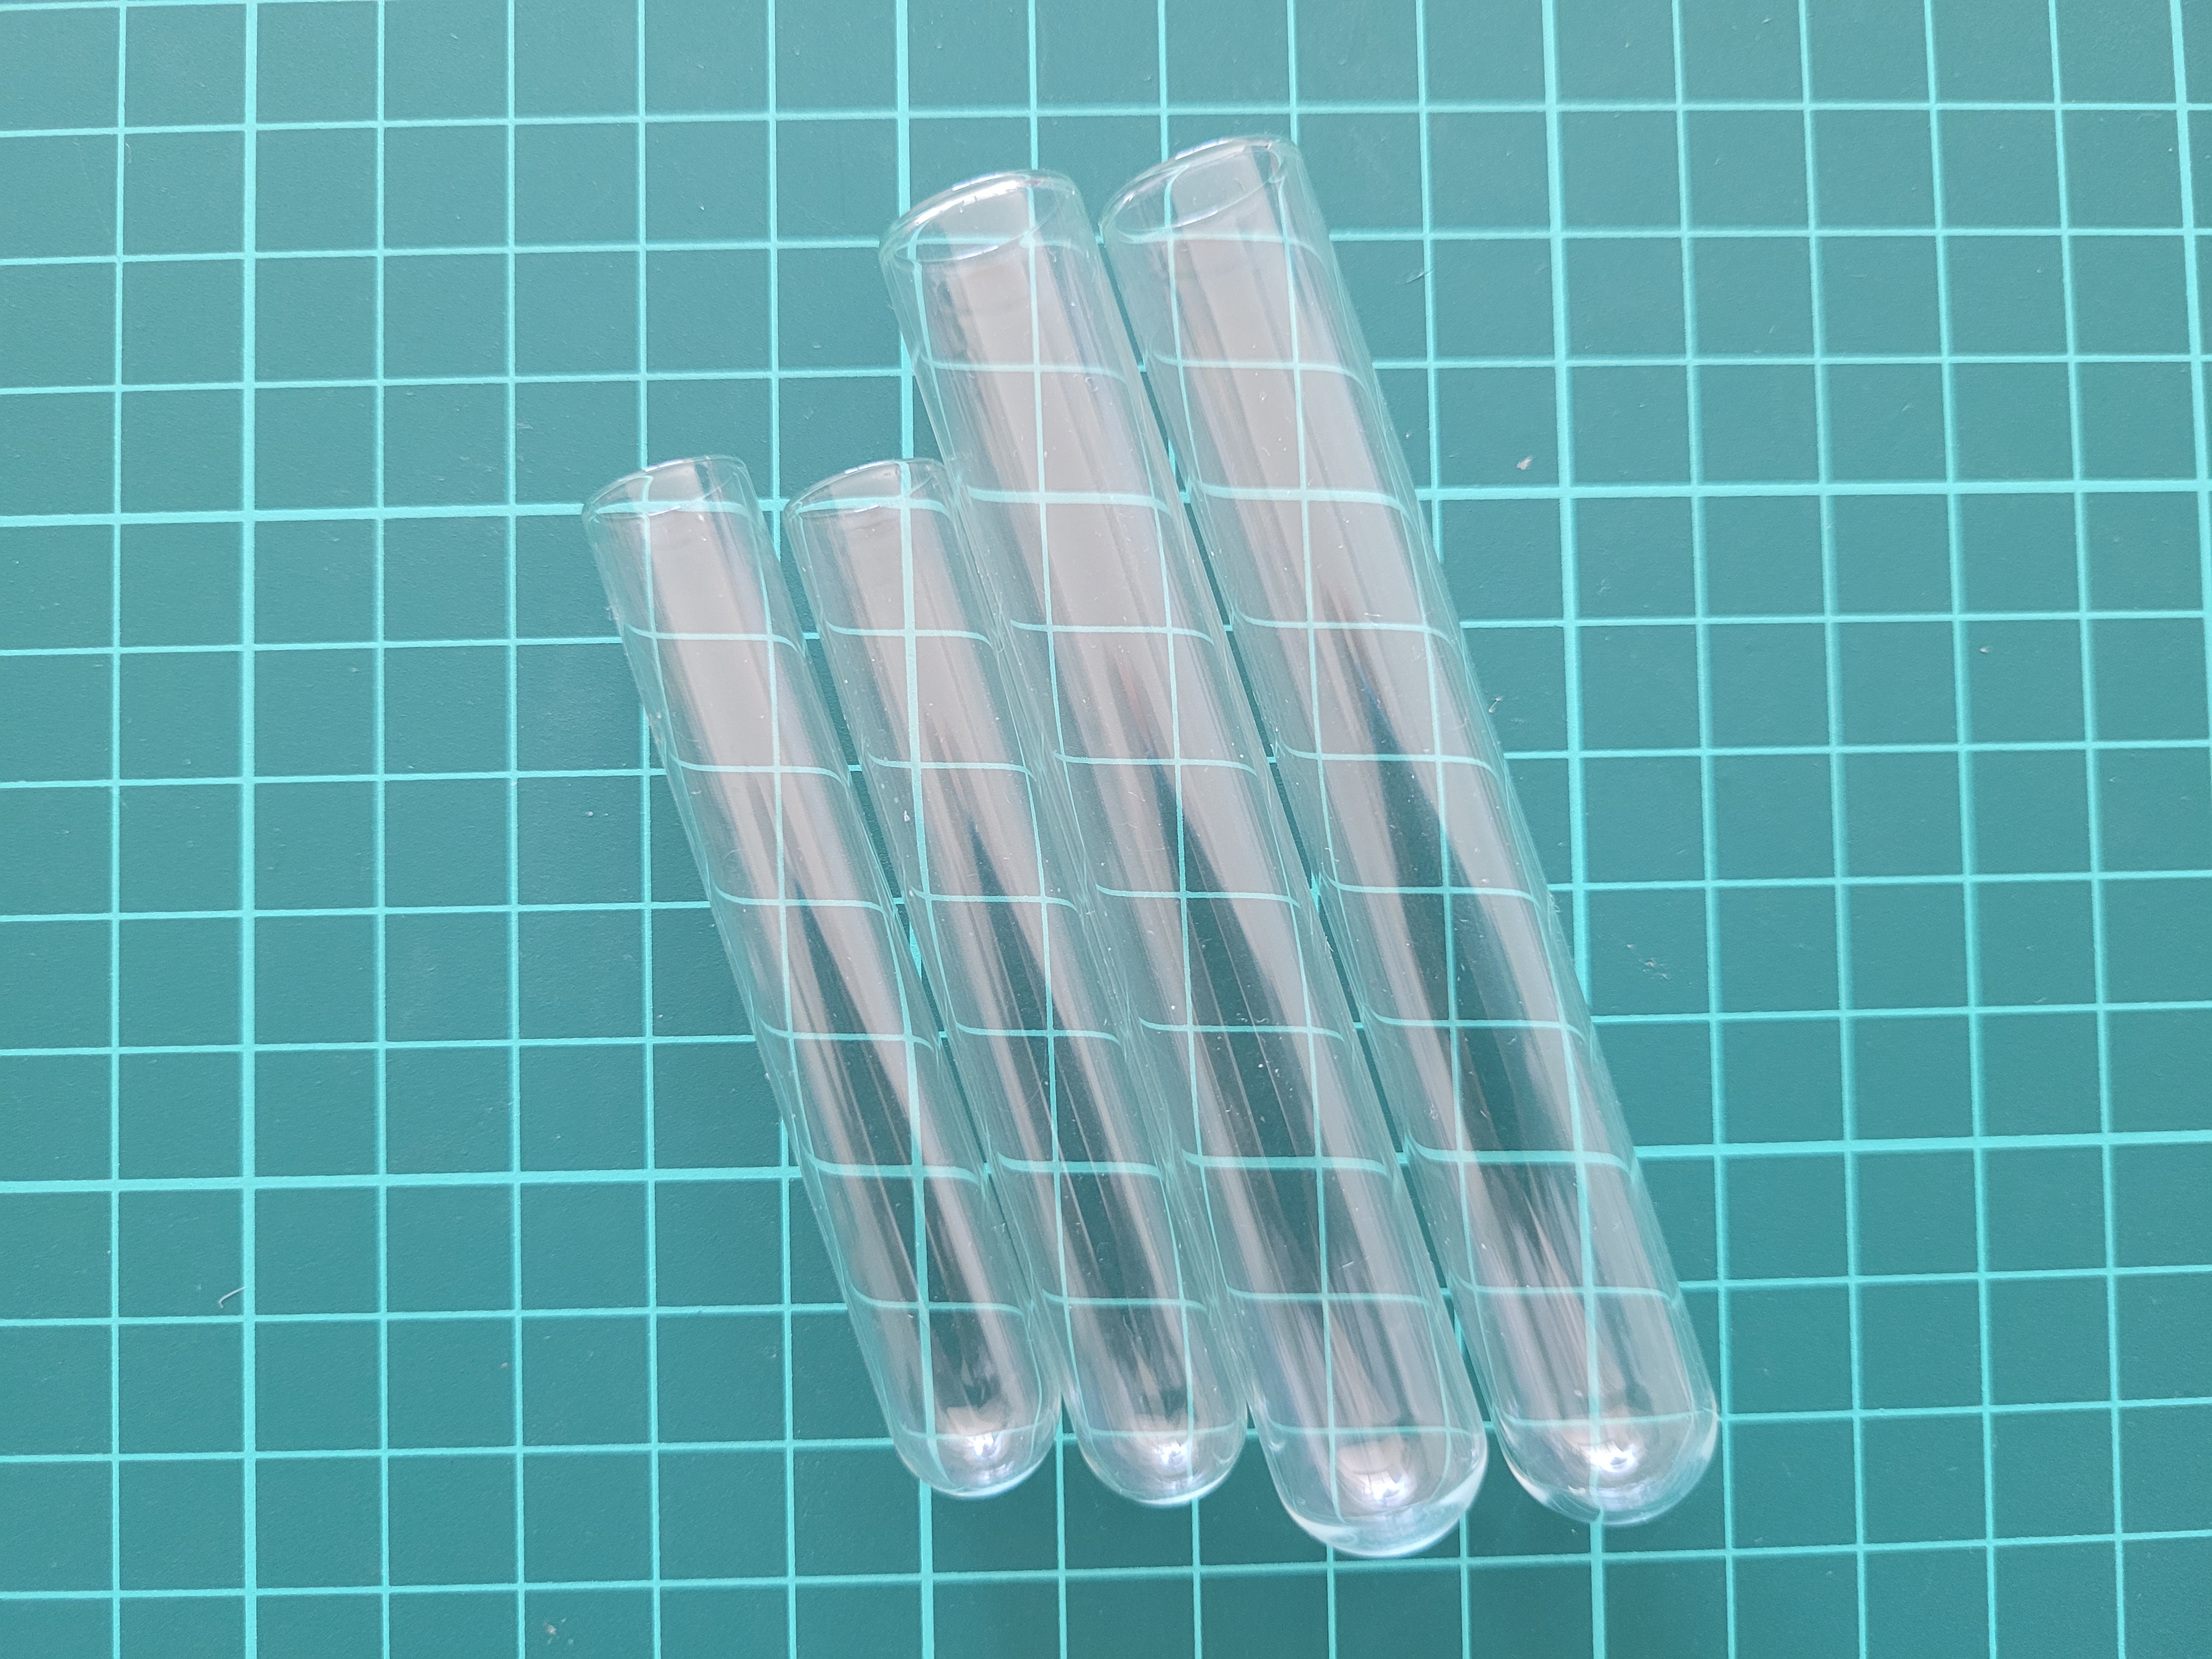


As you can see in the photo we some big and some small test tubes. We decided to make all holes big enough for the big ones to fit inside. I used calipers to measure the diameter of the large tubes

We designed it with a height that allows us to easily pick both types of tubes from the top easily

We added some rings to the bottom platform so that the tube didn't slip or fall down

Before printing the whole thing we printed a small prototype of the holes with 2 different sizes because 3D prints can shrink a little when they cool down. This allowed us to discover that the size of the hole we had chosen wasn't big enough once it printed. So we could change the design before printing the full stand.

For designing the stand we used Tinkercad, which is a nice CAD program designed for kids. It is very easy to use and it is free

If you are interested in printing it or modifying it for your own use, you can get files from Thingiverse here: https://www.thingiverse.com/thing:6204990
We went to print it to the SLQ (State Library Queensland) in the Edge fabrication lab. Sadly, my Dad had to go inside and print it by himself because children under 12 years old are not allowed to enter, which made me a bit sad. They have very nice Prusa printers but we decided to print with a bigger nozzle and thicker layers so that it would take as little time as possible since I couldn't enter. When you 3D print something you have to choose between print quality and speed. The higher the quality the longer it takes. This is a functional part not for decoration so it didn't need to have a beautiful finish. It took 2 hours to print.

Comments
Post a Comment